Few things make me happier in life than a really fantastic piece of cheese. Aged cheddar, brie, gouda or gruyere, my body is ready. Naturally, I sought to take my relationship with cheese to the next level. I wanted to know: how do you graduate from grocery store cheese cube platters to a truly sophisticated cheese plate with flavorful wedges from all over the world?
We’ve assembled a complete guide to transform you from cheese enthusiast to a bold, adventurous cheese connoisseur. Before you know it, you’ll be assembling Instagram-worthy cheeseboards with ease and grace.
Expand Your Palate
Alright, let’s start with the fun part. The best way to familiarize yourself with cheese is, yup, you guessed it: eating it. Experiment with different types of milk, textures, ages and regions. If a specialty cheese shop feels too intimidating as a first step, don’t sweat it. Start at a grocery store with an excellent cheese counter (we’re looking for more than a wall of pre-packaged Kraft Shredded Mexican Style Four Cheese Blend here). Try out your neighborhood Whole Foods, Trader Joe’s and even some larger Kroger stores to discover which market carries the best selection in your area.
You can use your supermarket experiences as a baseline for discovering the cheese types, textures and flavors you like best. For example, do you enjoy aged or younger cheeses? Fresh cheeses, such as mozzarella, ricotta and burrata, are mild and soft. These are often used in salads or appetizers, not necessarily as a main attraction on your cheeseboard.
Aged cheeses are generally more pungent and may have a saltier, crystallized texture in harder varieties. Young and old cheese simply refers to aging duration and can apply across other types of cheese: for example, goat cheese (or “chèvre”) tastes creamy and tangy when it’s young, but aged goat cheese becomes buttery and mellow, sometimes with a hint of nuttiness. It’s very possible you like both types – don’t feel like you have to choose.
The cheese ripening process also produces different flavors and textures. For instance, soft-ripened cheese usually has a “bloomy” rind, like the soft, white coating on Brie. The mold on the cheese’s surface causes it to ripen from the outside in, creating a creamy, dreamy texture.
Pick out two or three cheeses you would like to try and compare the differences as you taste. While it can be tempting to fill your basket with a mountain of cheese, we suggest limiting the number of cheeses you try in one sitting so that you don’t get overwhelmed.
Chat Up an Expert
Once you establish a basic idea of the types of cheeses you enjoy (or least the ones you don’t), it’s time to talk to your cheesemonger. These folks have dedicated their lives (or at least their careers) to cheese and, trust us, they really don’t mind answering your questions.
These magical cheese matchmakers usually start by asking about cheeses you enjoy or if there are any varieties you don’t care for. Don’t try to impress your cheesemonger by listing extravagant, expensive cheeses you don’t actually fancy. He or she is just trying to assess your preferences and pair you up with the right cheeses you will love.
Another great benefit to consulting a cheesemonger: free samples! Many cheesemongers will offer you a taste of cheese while they describe it to you. Feel free to try a couple. Before you leave, it’s polite to make a purchase in exchange for their time and trouble.
Choosing Cheese for a Tasting
Now that you’ve got your bearings and explored several varieties of cheese, it’s time to share the love by hosting your nearest and dearest for a cheese tasting. Whether your cheeseboard will serve as the main affair, or you’re putting together a cheese plate for dessert, here are a few tips to help you select a good variety of cheeses.
One blogger suggests using this handy rhyme as a guide to creating your cheeseboard: “Something old, something new, something goat, and something blue.” This will indeed give you a diversity of flavor and texture to make your cheeseboard interesting and memorable. This broad approach with one cheese from each category will allow guests to sample the distinct qualities of each.
If you plan to entertain guests who might appreciate a more subtle selection, you can arrange a cheeseboard based on a shared theme to draw attention to more nuanced characteristics. For example, choose cheese originating from the same region or put together a cheeseboard using only different types of blue cheese (i.e. gorgonzola, stilton, roquefort, etc.). This can spark a lively discussion about flavor distinctions.
Focus on picking three to five cheeses, rather than covering the entire plate with a hodge-podge assortment. Two great cheeses will be better than six mediocre ones. Want to know exactly how much cheese to buy? If your cheeseboard will be the only food at your gathering, experts generally recommend you purchase at least 4oz of cheese per person. If the cheese is meant as an appetizer or snack, you should be fine with 2oz per person.
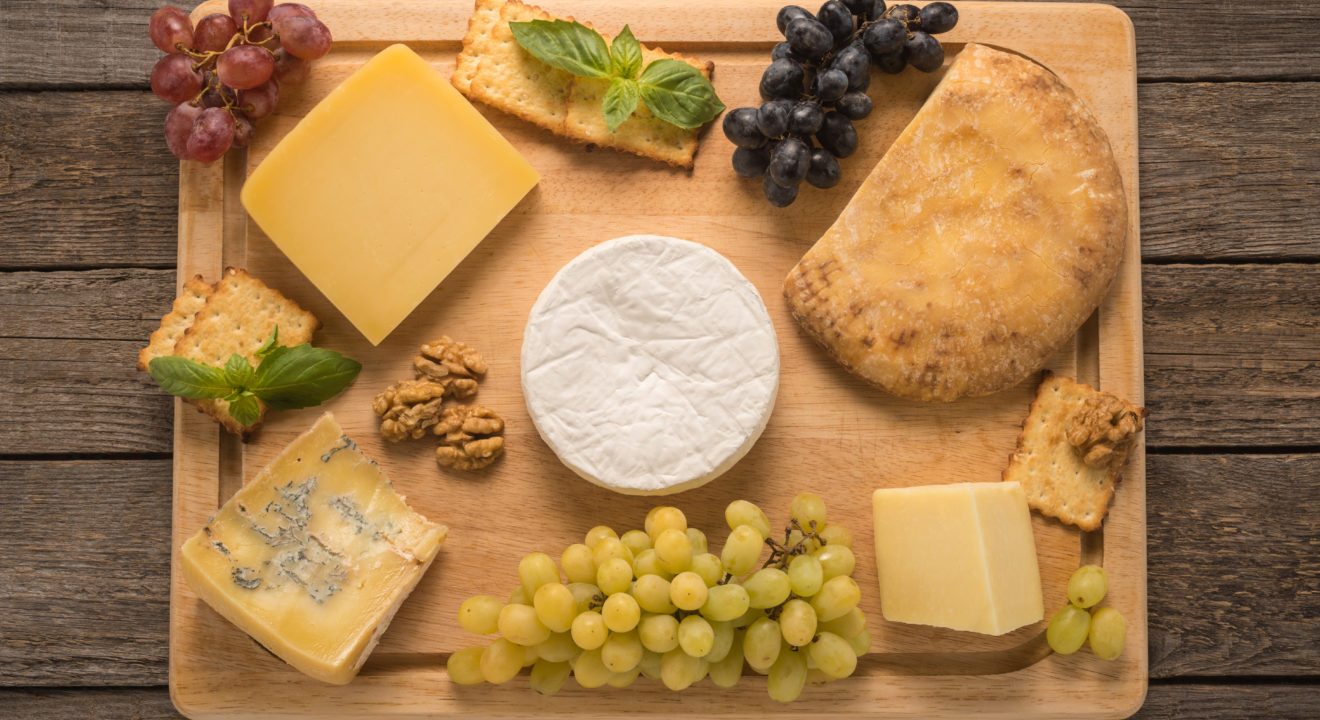
Don’t forget to pick up accompaniments for your cheese tasting. These can provide an excellent complement to your cheeses, cleanse the palate and draw attention to various flavors. Bread, crackers or mini toasts are always popular. For a savory touch, add pickles, olives or meat like prosciutto and salami. Sweeter choices might include honey and fresh fruit such as grapes, pears or apple slices. You can also use dried fruits like apricots, figs or cranberries. Walnuts and pecans are another great option.
Resist the urge to drizzle jam all over the wedge, and set these accompaniments to the side. You should always let your guests control their own toppings. Give your friends a chance to taste the cheese on its own, and then with pair it with different accents of their choosing.
How to Serve Cheese Properly
As you prep for your party, take the cheese out of your fridge 30-90 minutes prior to serving your guests. Flavors become fuller at room temperature, which makes for a better tasting experience. Fresh cheeses require less time on the counter than runny or hard cheeses. To prevent your cheese from drying out, keep it in the wrapper until you are ready to plate it.
Best practices indicate you should arrange the cheese clockwise on the board from mild to strong. Try to separate any particularly stinky cheeses from more mild choices so that strong odors do not transfer. Give each cheese enough space on the plate so that your guests can take a piece without accidentally dipping into the next cheese over. You can use more than one plate or board if necessary to avoid crowding the platter.
According to cheese professionals featured in Bon Appétit, you should pre-slice the cheese before serving. Although sticking a knife in a wedge feels like a quick and easy set up, your cheese board will stay looking much nicer longer if you cut everything ahead of time. Keeping with the original shape of the brick, small slices and wedges are ideal. Leave the cheese cubes to the prepackaged supermarket trays. Cut pieces that can be eaten in one or two bites, but don’t slice it too thin or your cheese will get that “sweaty” translucent look.
Not sure what tools to use? A fork-tipped spear is a great multipurpose tool that can be used to cut most firm cheeses and spear it when serving. A spade knife cuts through hard cheeses like Parmesan and cheddar. To easily slice soft and crumbly cheeses like brie and blue, use a wire. The flat knife cuts even slices and doubles as the perfect cheese shovel to transport pieces from the board to your plate. Even if you cut the cheese in advance, you should still provide serving knives for your guests.
If you plan to host a large group or just don’t want to repeat yourself, consider labeling your cheeses so guests won’t have to ask. A small place card works great, or you can purchase reusable cheese markers in posh porcelain or rustic slate. These markers typically include chalk or a dry-erase pen to write and remove labels over and over again.
Proper Care and Maintenance
If you end up with leftover cheese (shocking, but it might happen one day), it’s important to store it correctly for continued enjoyment. Waxed paper preserves the integrity of cheese better than plastic wrap, which doesn’t allow humidity to escape. Believe it or not, your cheese needs room to breathe.
You can use the wax paper you already have in your kitchen or purchase special cheese papers if you want to be fancy. Wrap the cheese and secure the paper with a small piece of tape before placing it a plastic bag or Tupperware in the humidity controlled drawer in your fridge. This method should ensure your cheese will last another 5-8 days so you can snack all week long.
